Matador Camera Base Layer Review
The brand takes a jump into the protective gear space vs. just the packable bag space.
Matador Camera Base Layer Review Introduction
Matador is pushing to build out its “base layer” line of products. While right now there are only two, they used to have a lens case too (which I have and love - bring it back Matador! In different sizes!). What they kind of target here are things THEY see as critical items to protect the things YOU consider critical. For now, think camera and laptop. We’re going to be looking at the camera base layer specifically.
This is my review of the Matador Camera Base Layer. I was able to take this with me on my safari trip in Tanzania so I used it every day for about 7 days straight. Gave me a good idea of the nice use cases and where it was good - and maybe where it wasn’t.
For full transparency, I reached out to Matador and they were kind enough to provide a unit for me to review. That said, this is not a sponsored article and the review is solely my own. Matador had no input into the contents here.
-Need travel insurance? As an American, our health care system is complicated and your regular insurance might not cover you abroad. For international travel, I’ve been using World Nomads for years. They have adventure packages that cover most hiking and even ice hockey. Be sure to read all the coverage information (it’s laid out very well on the site) to make sure it’s right for you, but be sure to give them a look. I find their rates quite competitive and the quotes are free! -
Matador Camera Base Layer Overview
The idea behind the camera base layer is for it to serve as a do-it-all carry method for a mirrorless camera and a lens. It will depend on the lens, but more on that later on.
It’s made out of a padded material, with really high quality bits like the closure magnets, hypalon pulls, etc. The padding is insulated and of course helps protect against all the bumps that can occur when you’re out in the backcountry. The bag can also be made to be waterproof as well, depending on how you choose to close it.
You put your camera in the bag face down, as it’s shaped like a funnel to accommodate the lens.
Material and waterproofing specs from their site:
420D Bluesign® PU coated nylon, DWR coating (PFC free)
40D softshell exterior, DWR coating
50D seam sealed liner, UTS coating
Hypalon reinforced handles
210D bonded nylon thread
UTS coating (ultra tear strength): waterproofing and tear strength increase of 30%
PU coating (polyurethane): durable waterproofing
DWR coating (durable water repellent)
Colors are black and well, just black. Coming at you in a minimalist way here :)
It retails for $74.99 online.
Camera Base Layer Features
For one, this bag can become a rated waterproof bag. Inside the main unit, there’s a rolltop, waterproof liner. So, roll this down, snap it shut, and your base layer now becomes a nice, dry, safe spot for your camera if you get stuck in some weather.
The outside of the bag has numerous coatings for waterproofing as noted above.
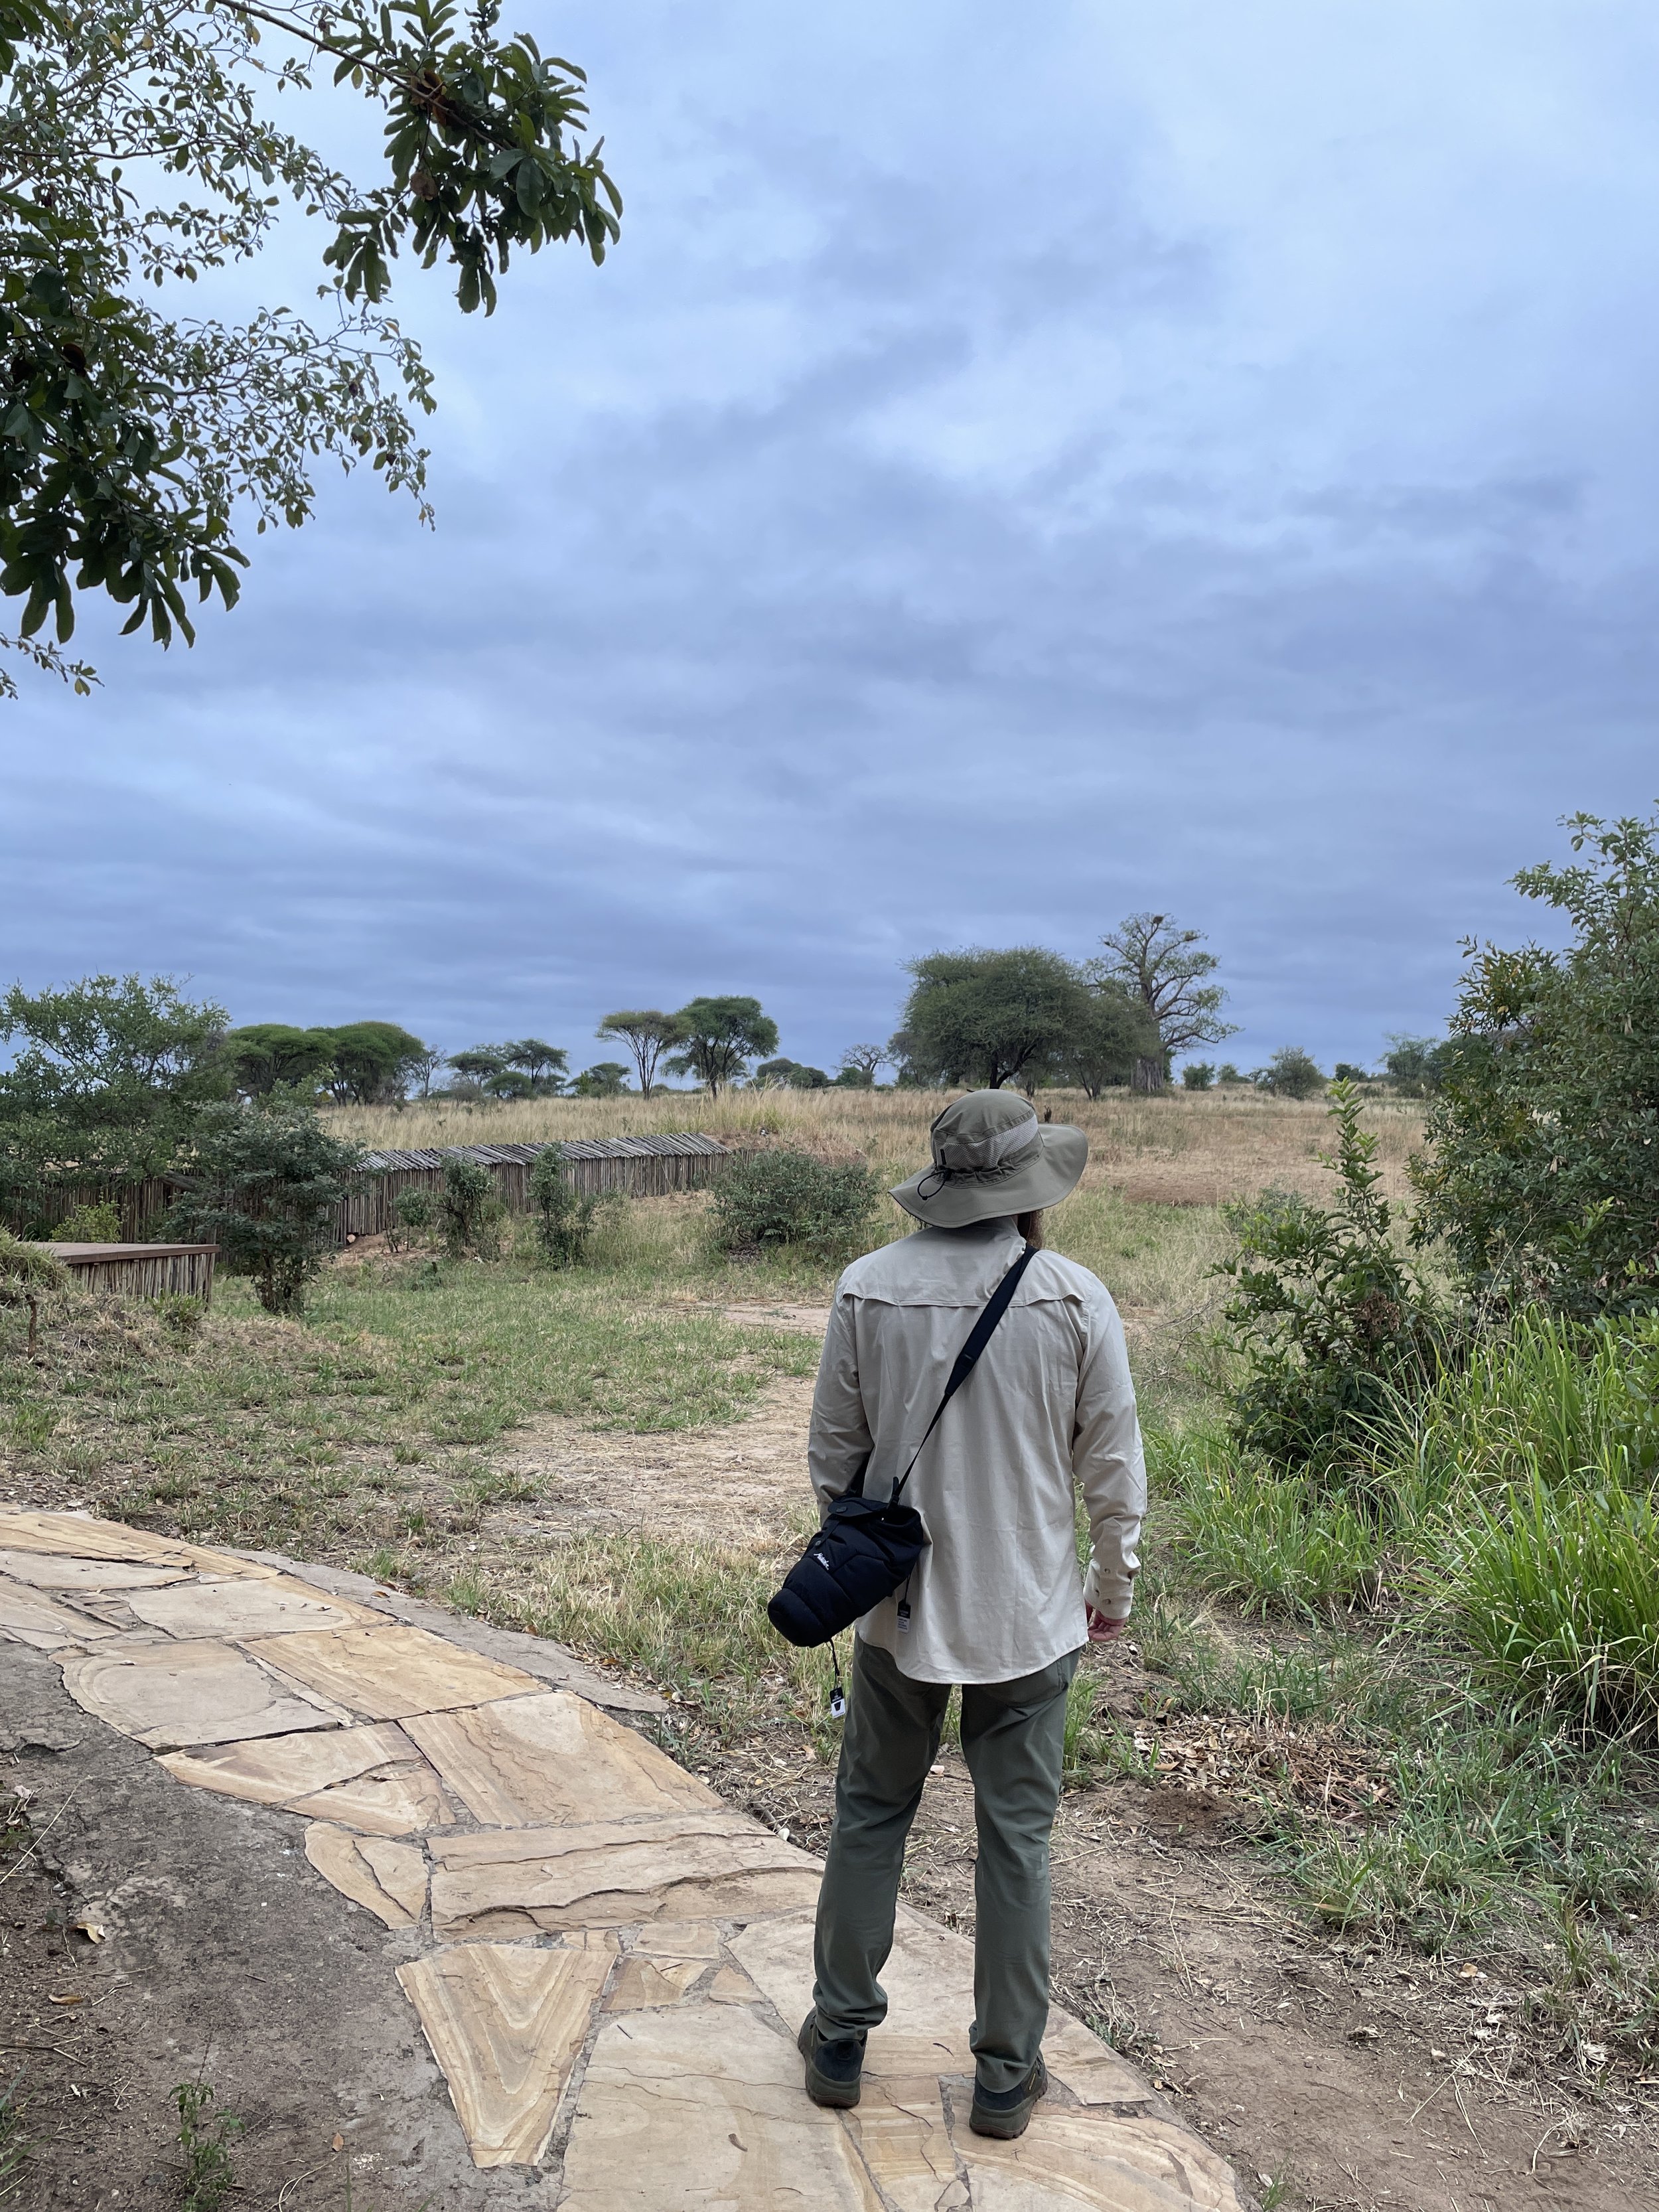
It’s compatible with pretty much most straps you’d want to attach. Also has hypalon attachment points in case you want to get creative or hang it somewhere.
The magnet quick-release latch is there to let you in quick, and it’s adjustable so you can increase the length on the bag if your lens is longer. In addition to this magnetic quick-release latch, which certainly helps to adjust the size based on your lens, there’s another trick up the case’s sleeve. The bottom of the case, actually inverts inside itself, then has a draw strong which allows you to close it up tight. This is for when your kit (lens) is much smaller and you don’t need all that space. In fact, this is more the preferred way to adjust the case for size rather than the quick release latch mentioned first, whereas the latch is considered for “micro adjustments” as they say.
On the back, there’s a small zippered pocket to take advantage of.
How I Used It
I want to lay out how I used it before I get too into the review, only so you have some context. I wasn’t using it like you’d imagine from the product shots. I wasn’t hiking around, taking it in and out as I went. I’m sure you could do that due to the quick release latch, though I’d consider the size of your camera (see notes below for more on that).
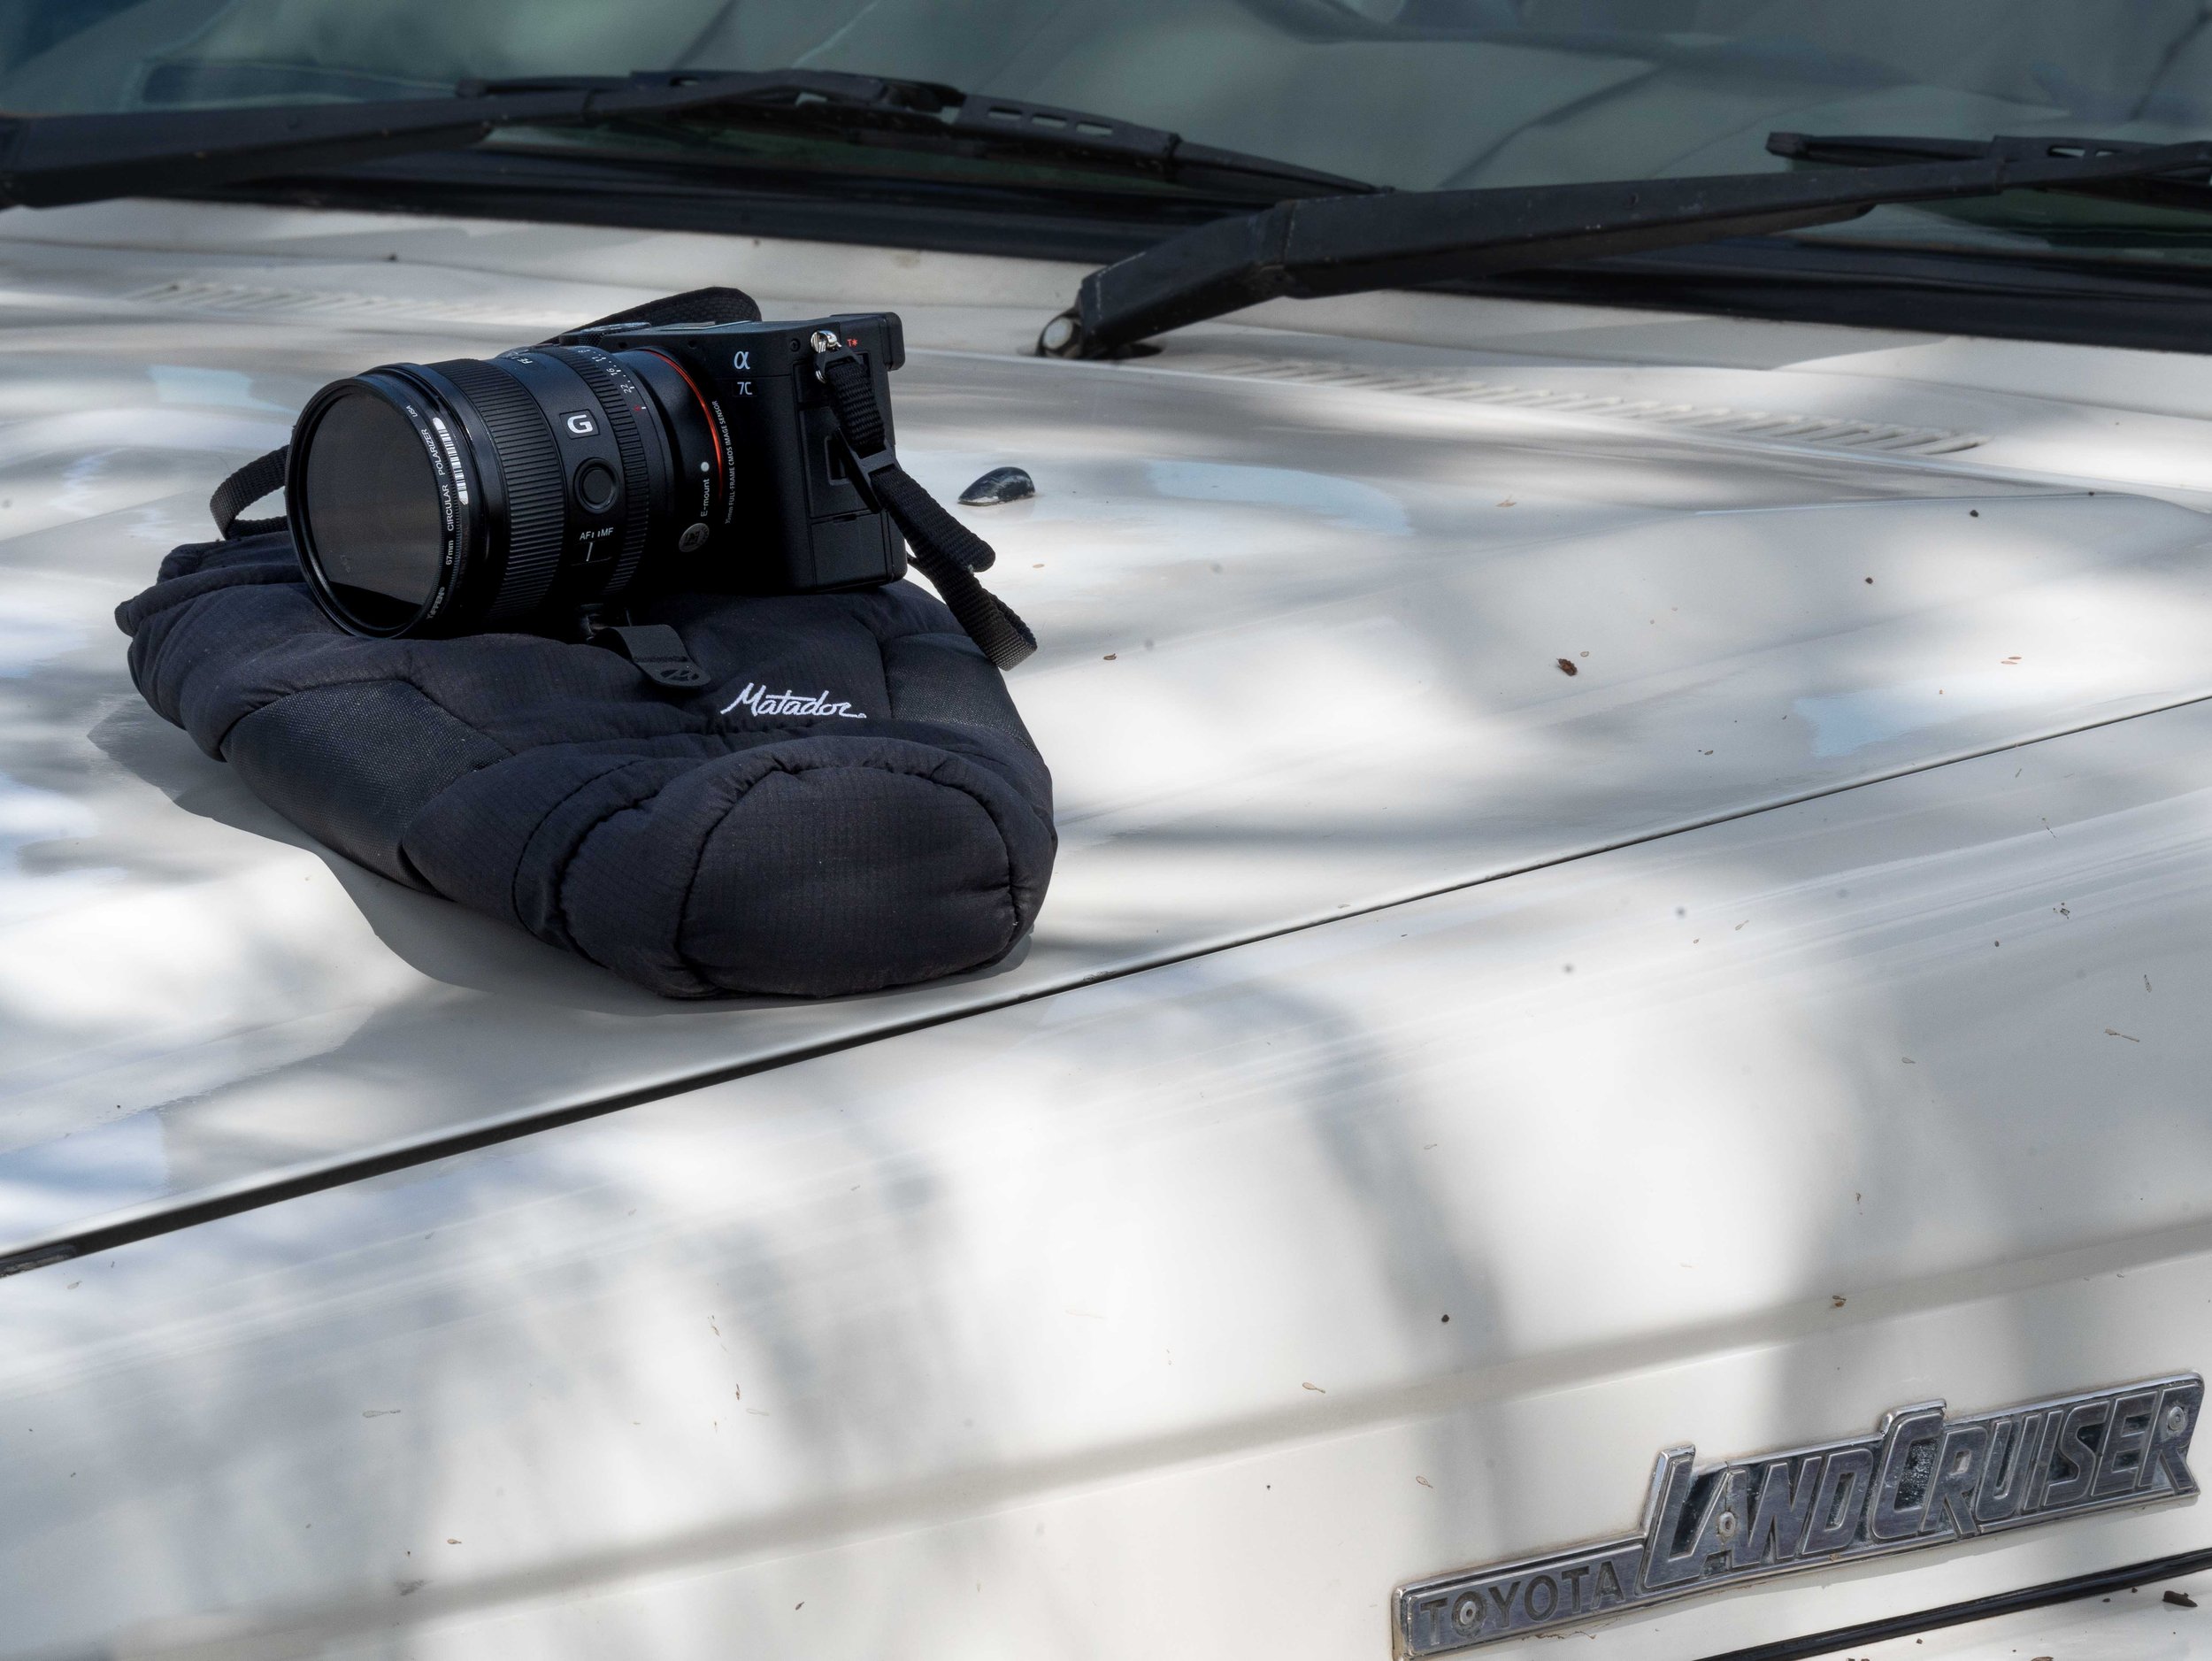
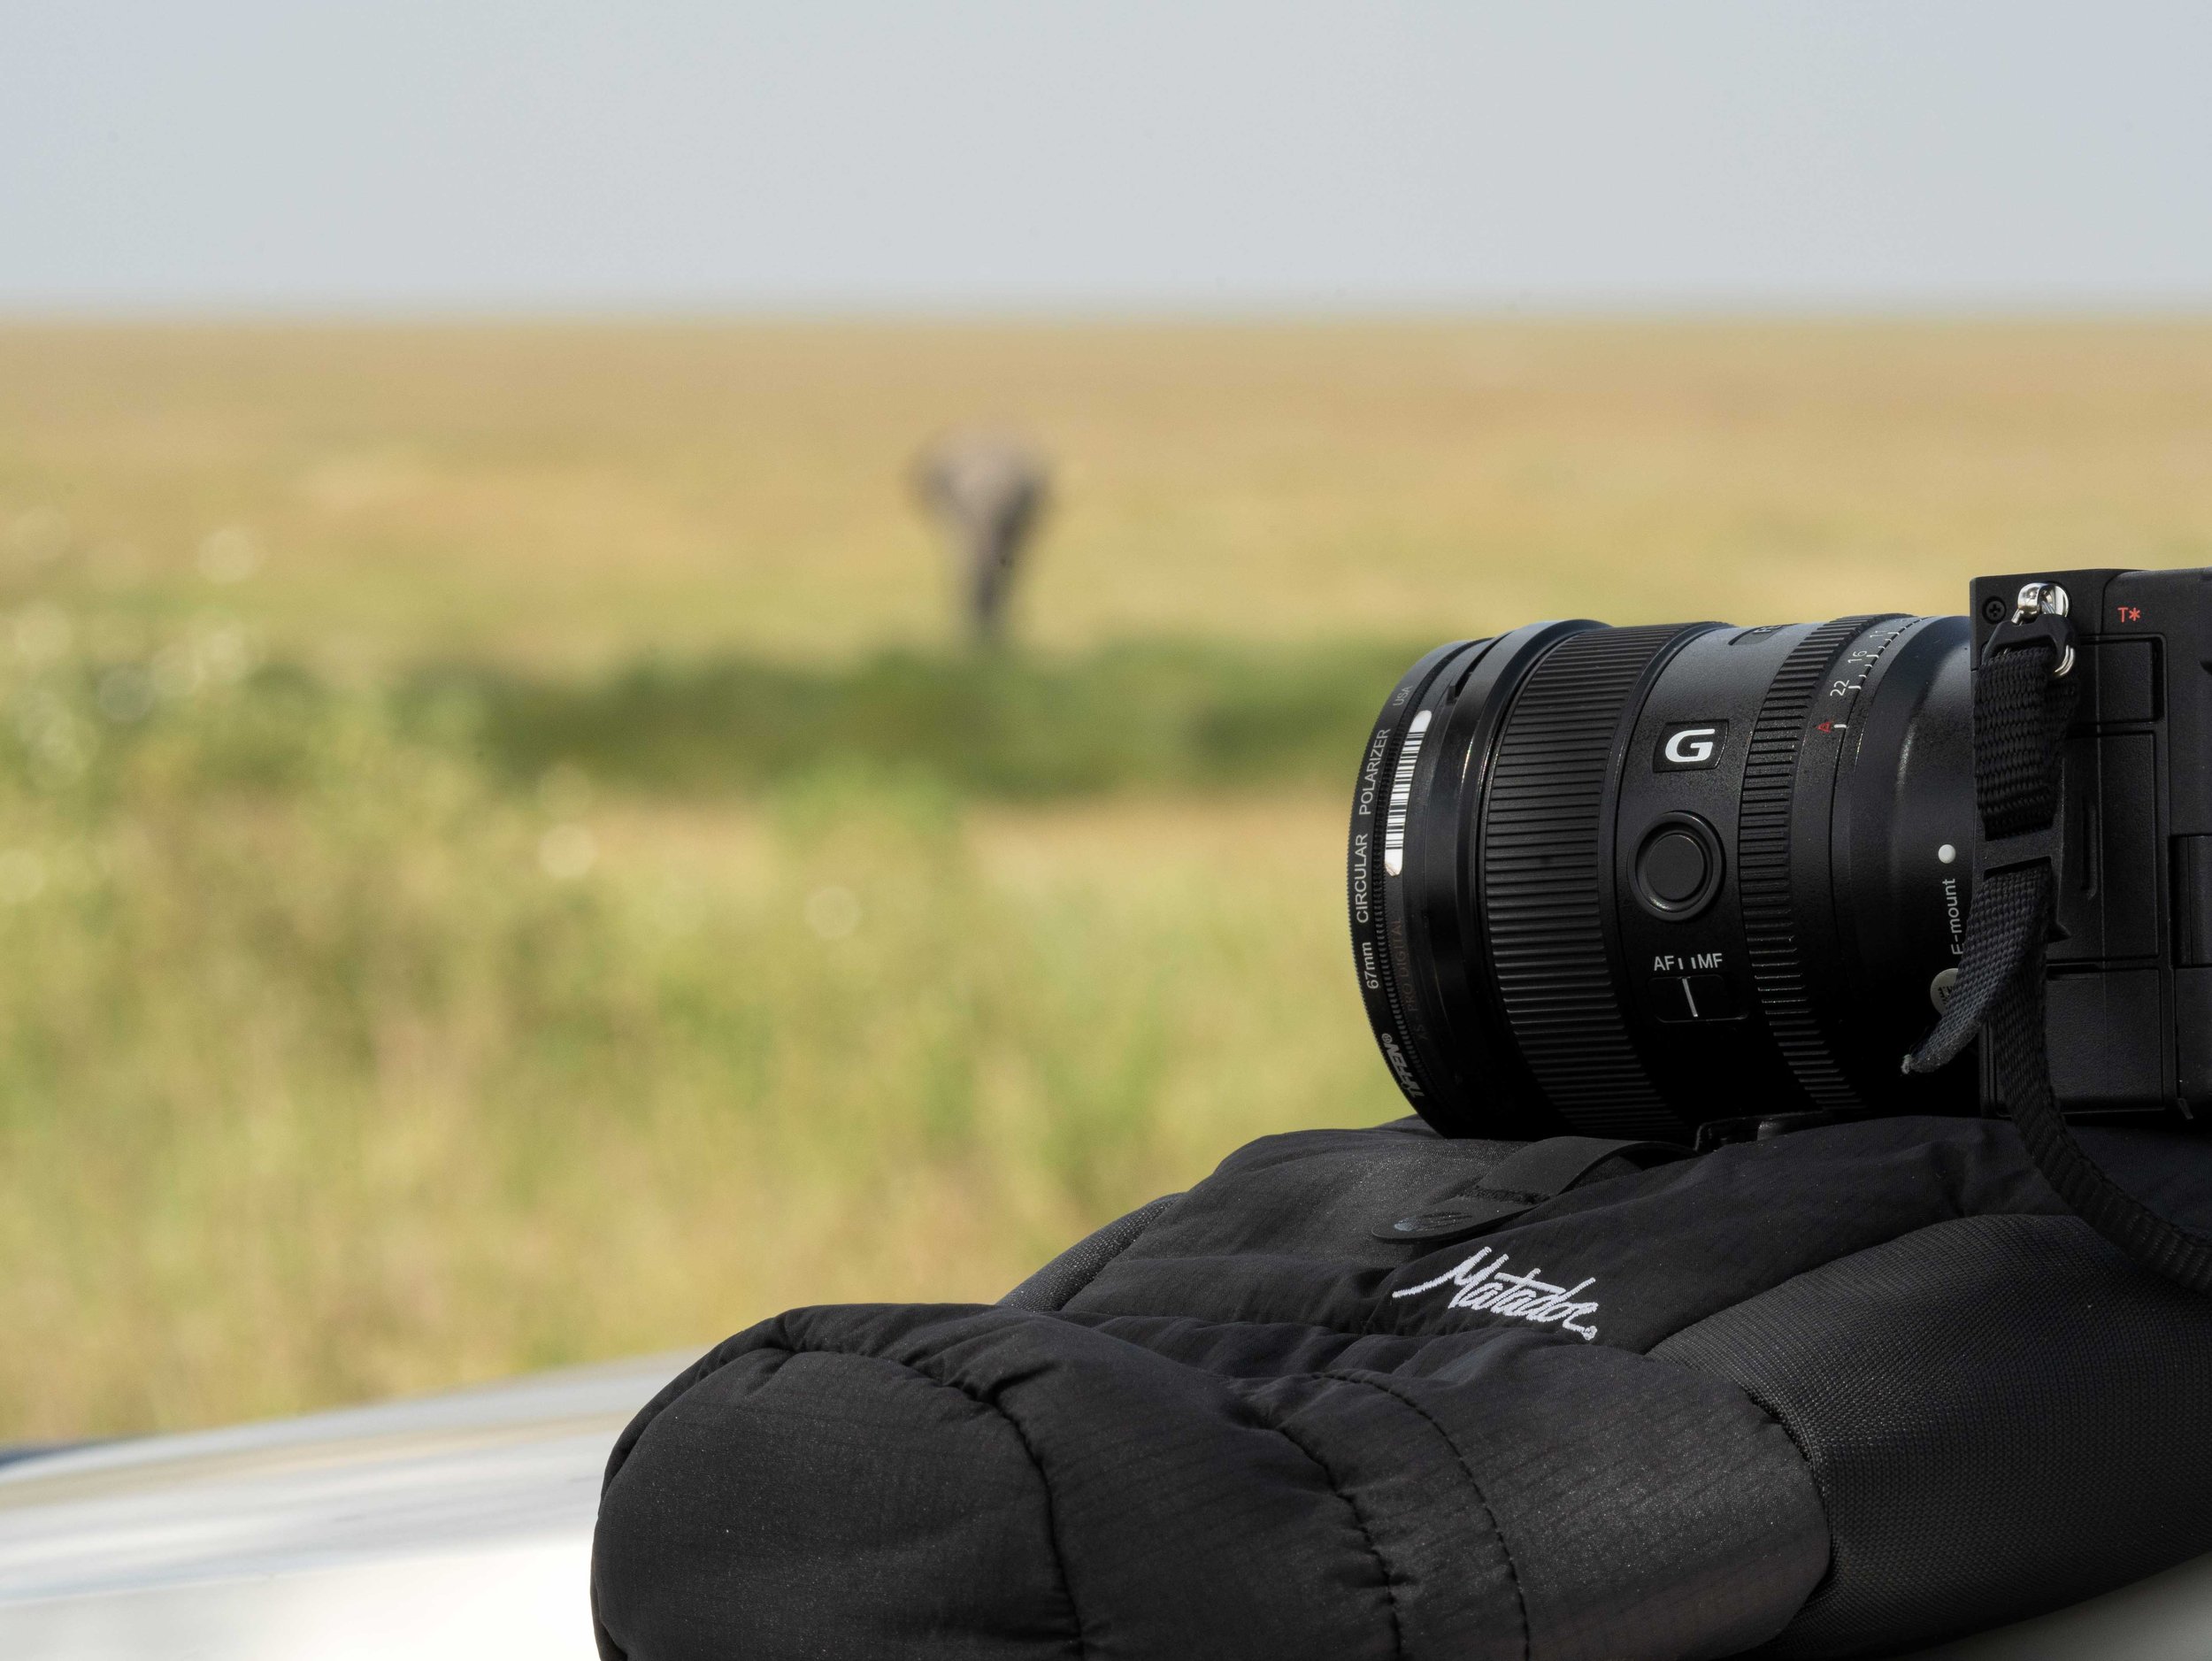
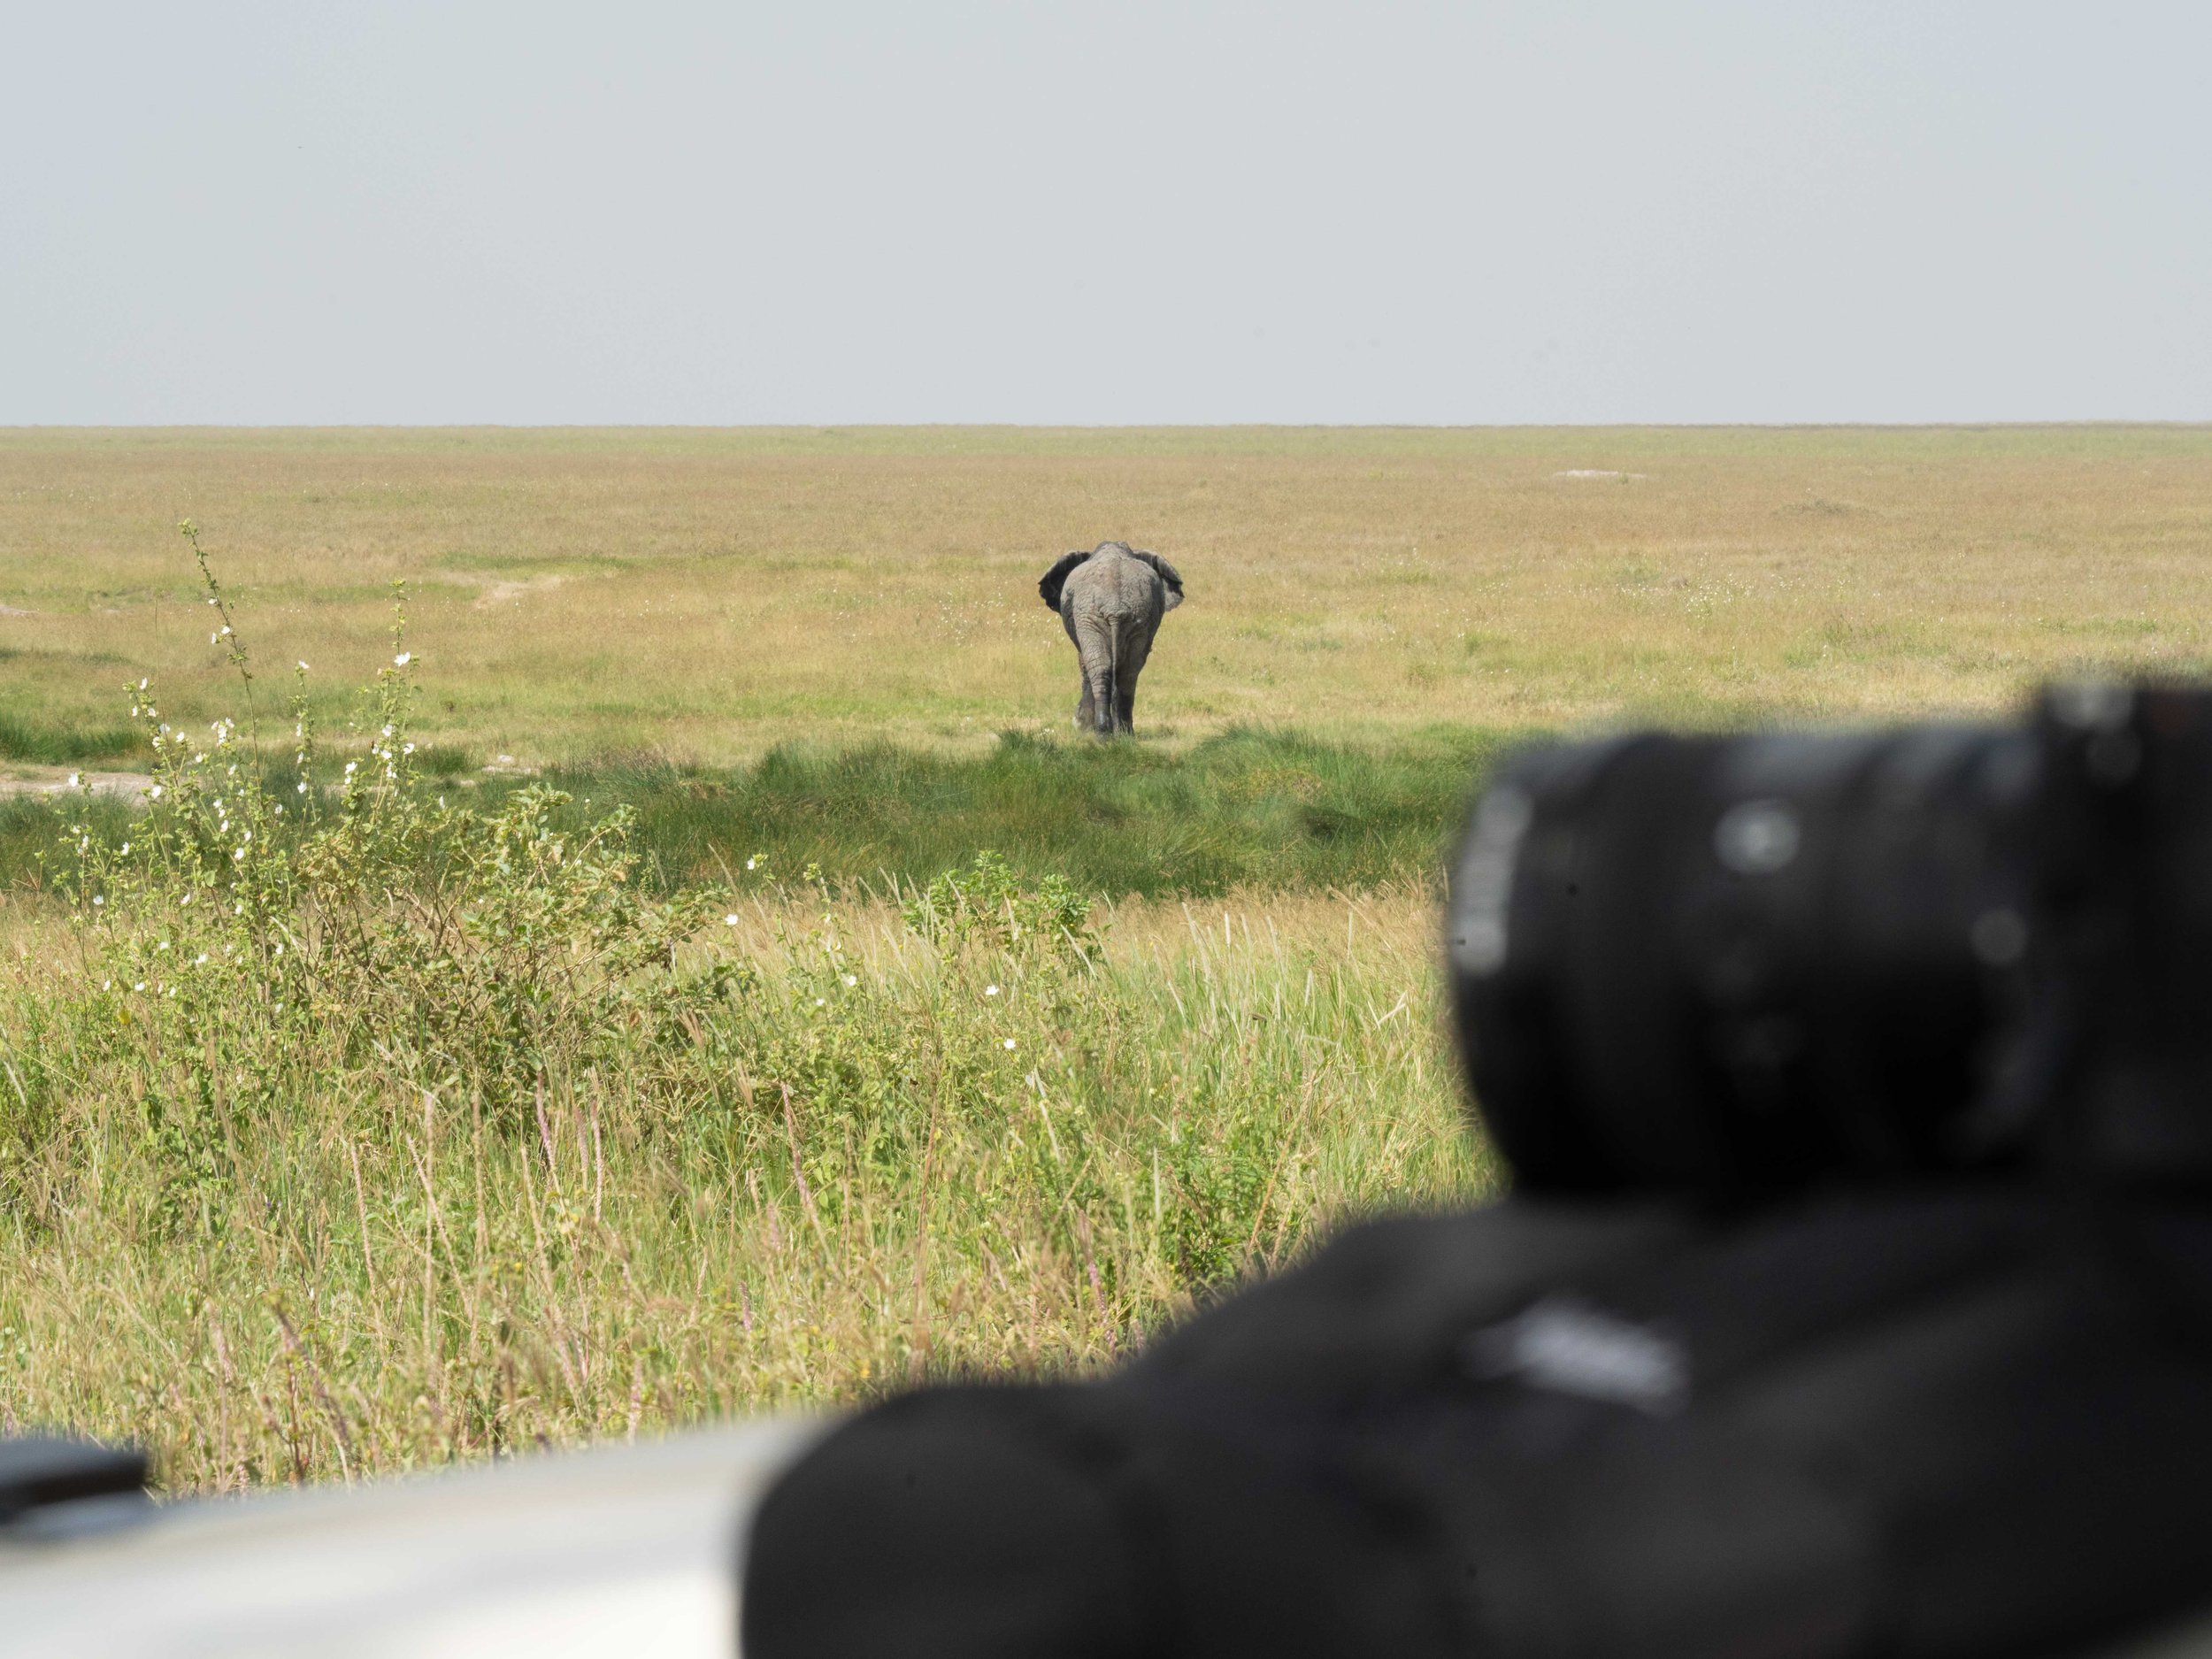
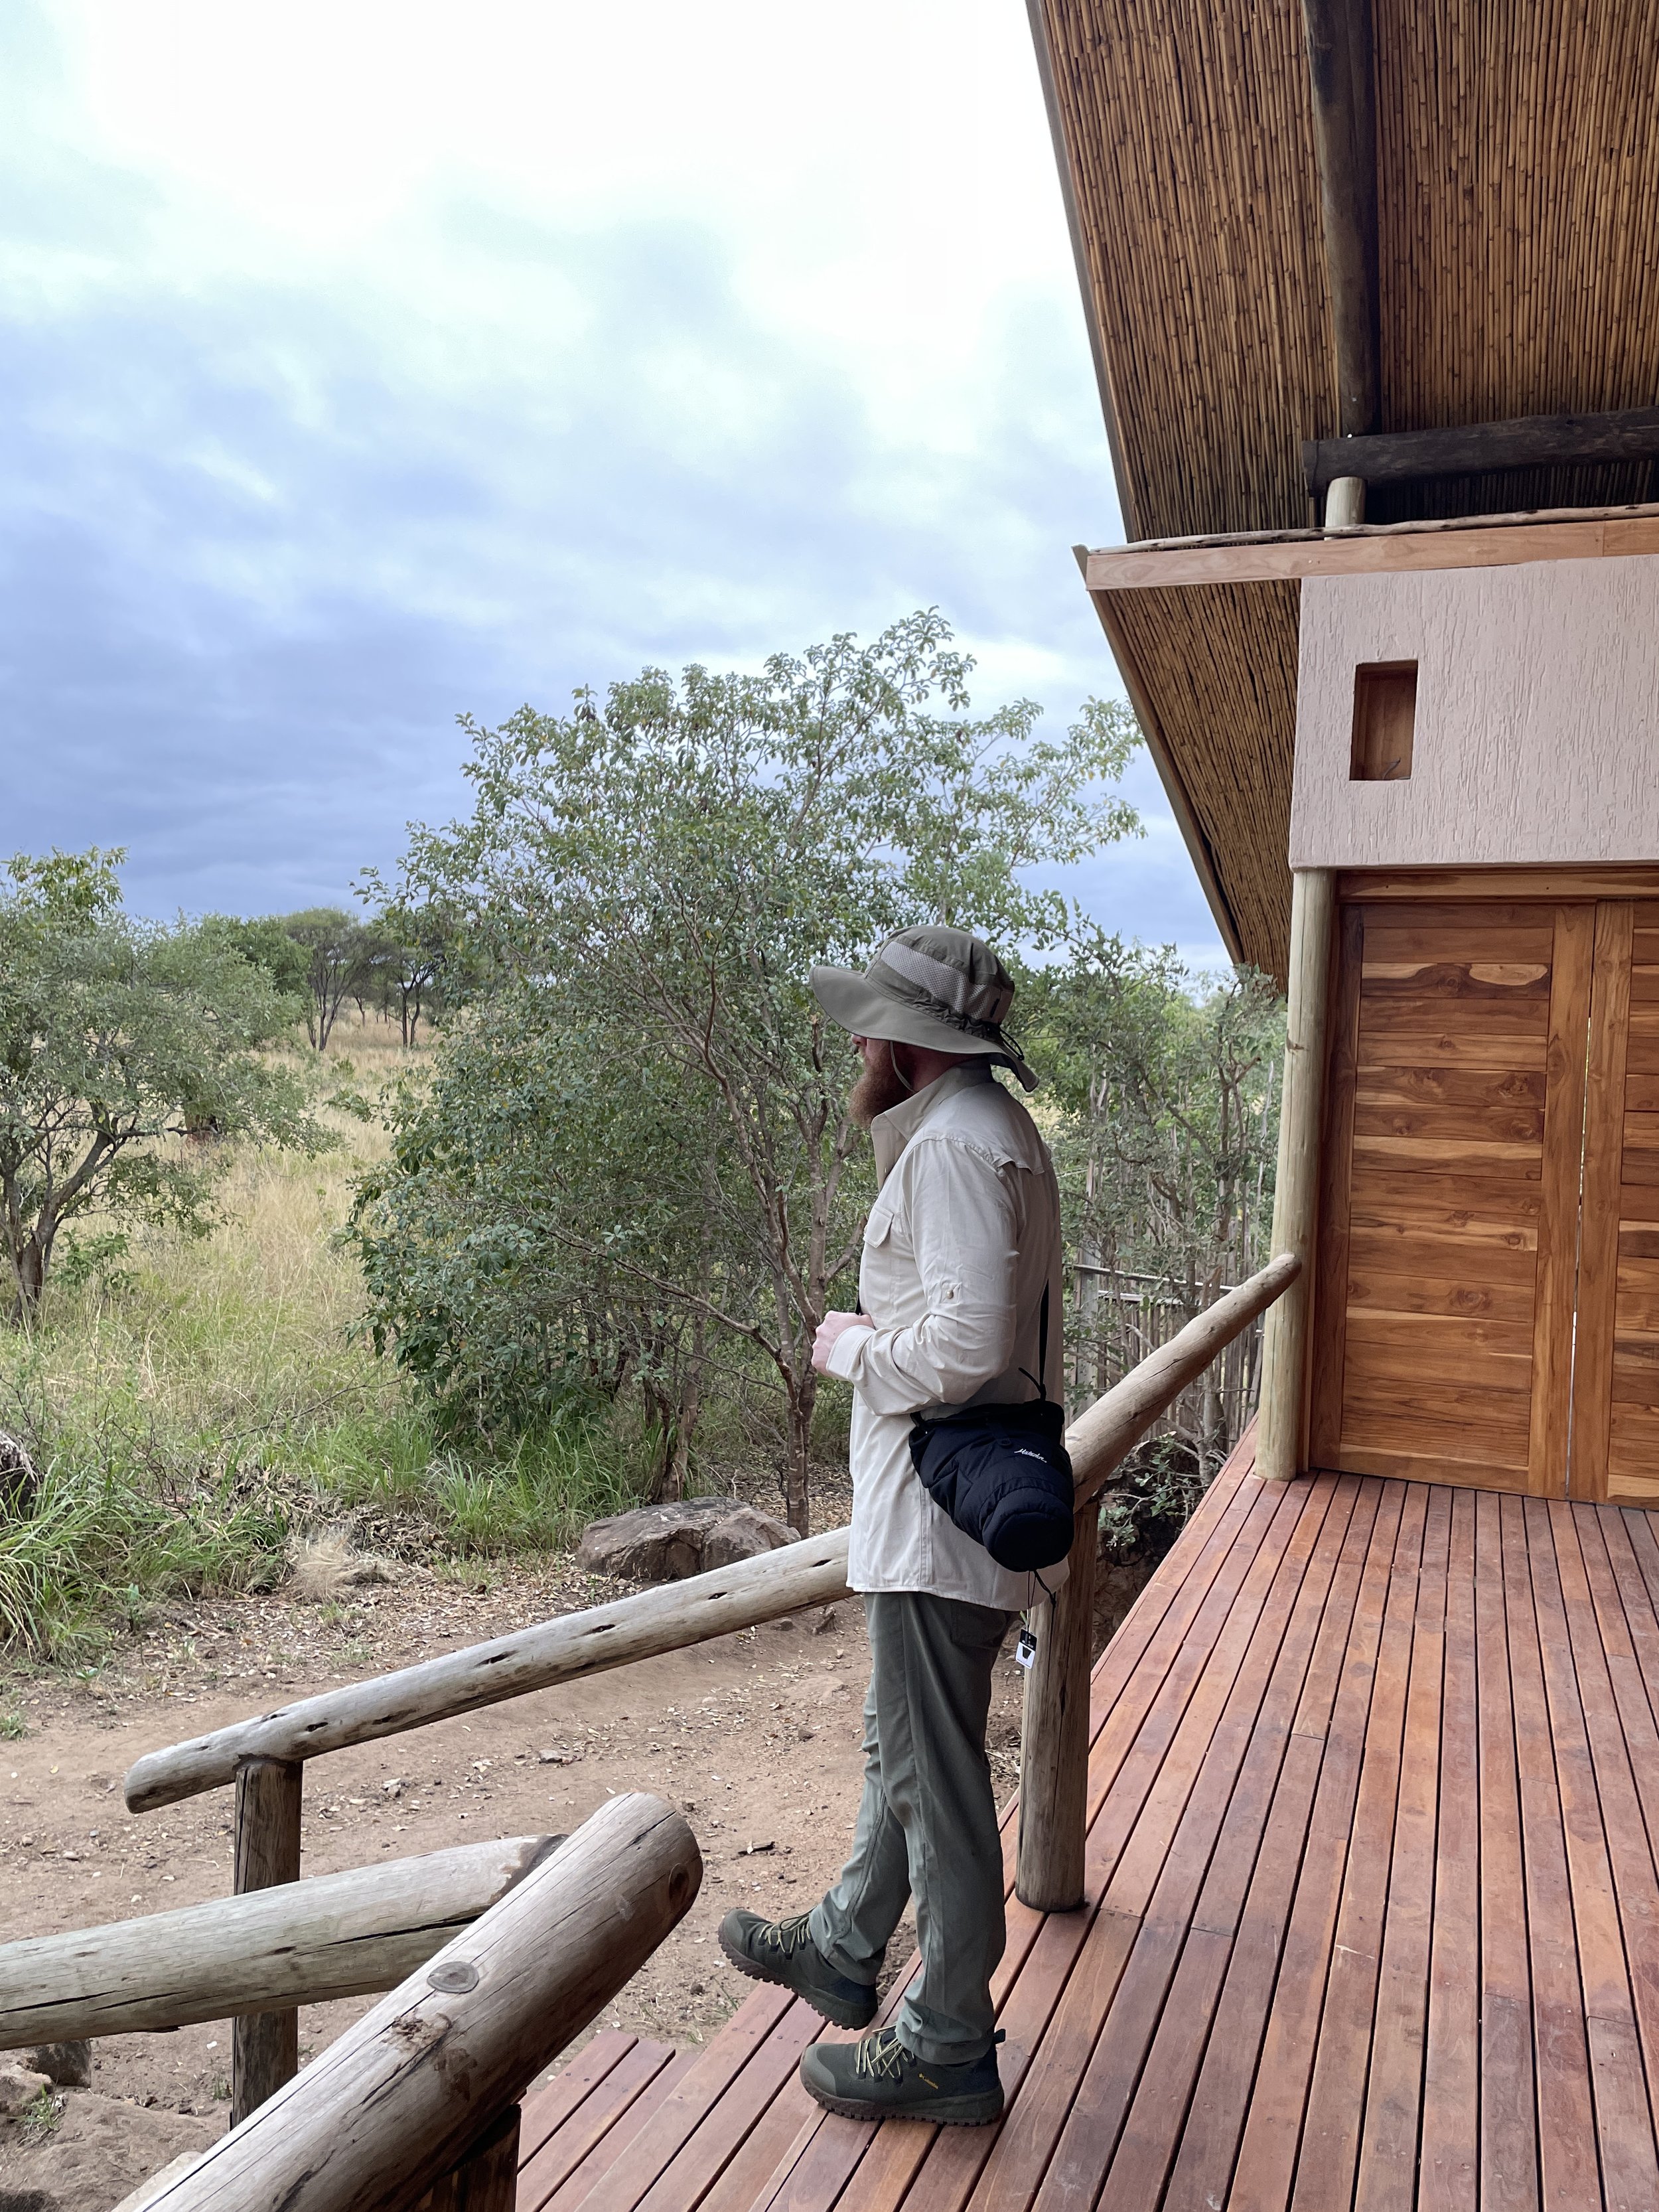
For me, I kept an A7C with a 24-105mm lens as my B camera in here. I used it to quickly carry it from the Landcruiser to the lodge/camp/tent etc. each morning and night before and after the game drives. Also because of the padding, I was able to put that on the floor and rest the camera on it when it wasn’t in use, and it wasn’t going to <BANG!> on the floor when we hit the safari speed bumps.
The Good
This is a well made product. Nothing feels cheap on it, which honestly is typical for Matador. I’ve never criticized one of their products for not being well made, regardless of effectiveness. The padding feels very nice, the accents like the magnet closure feels premium, good stuff here. It’s not cheap as an accessory, so you’d expect this kind of quality. Nice to see it in practice.
I like that you can BYOS. Bring your own strap. Thank you, thank you. (OK, I’ll see myself out.). Essentially means whatever is comfortable for you, just use that.
A Tale of Two Cities here in the quick release strap - from a release standpoint, liked it a lot. Easy for one handed release and behaved as expected. The second point in the “Bad” section.
The back pocket is quite good. I know that sounds weird for a little pocket, but hear me out. For one, it’s perfect for extra cards, a battery, sunscreen chapstick (my use case while being out in the Serengeti), etc. Whatever you want. But they also mention on their site a use case that’s quite clever - it can fit typical hand warmers, too. Confused? Don’t be - in cold weather, electronics can slow down and perform, let’s say… not great. Their batteries can degrade in performance as well (Auto EVs, anyone?). Popping a hand warmer in there can regulate the temp of the camera while it’s in the case. That’s wicked smart as we say where I’m from.
For the use case I mentioned above, worked perfectly for me. The handle made it super easy to just grab it as I got out of the truck (for the porters too, which are plenty on safari), and not have to worry about packing it all up into the backpack again (which was where the big kit was, FYI). It was a very convenient way to do it when you have two cameras.
My first go-around, I actually missed the feature on the bottom of the case that allows you to make the bag smaller. This is a really clever piece of design, too. It’s actually great for making smaller kit, even quicker to take out of the case. Good marks for design on that one.
The Bad
I’d say the size might be limiting for SOME people. Their product shots show mostly Sony’s I think. I have the new Sony A7 IV (writing this in Summer ‘22) and I’d say it was a snug fit. I had it with the Sony 24-105mm lens when testing the big camera. It fit, but only just. I would also like to note it wasn’t the lens that made the fit tight, though it is a larger lens. My rented A7C fit fine, however. So, like any kind of case, your mileage may vary here. Be sure to consider the kit you want to put in it. This would prob fit a lot of Sony A7 III set ups, A7C very nicely, and most certainly a lot of APS-C set ups. But you might have trouble fitting most DSLR or bigger mirrorless set ups, especially as the lens increases in size. That said, this is kind of designed to be on the move, it’s not meant to replace a camera backpack or sling that can fit a whole set up in it. So, let’s be reasonable with our expectations.
The second thing that kind of bothered me was the sliding mechanism to adjust the bag’s height. It works ultimately, but I found the mechanism to be very hard to slide up and down. Like, actually hard, where I had to find a proper angle and really pull on it to move it even an inch. I think there’s a balance to be found there in terms of keeping it in place, but also making it easier to move. I’m completely open to “A-Dubs, you’re actually using it wrong, you muppet.” But I don’t THINK I was.
The Improvement Requests for the Matador Camera Base Layer
For the most part, this is a stellar product that does what it was designed for. That said, I would work on the “quick adjustment” strap mechanism. I had a hell of a time sliding that thing up and down and I’m used to working with bags and straps, so I don’t think I was doing it wrong. Fix that and it’s going to be hard to complain about this accessory.
Final Thoughts On My Matador Camera Base Layer Review
This piece of kit is certainly a niche product - there’s no getting around that. So, I’m not going to sit here and say everyone and their sister that travels should go out and get this. But for active and backcountry photographers/travelers? It’s an awesome piece of kit that can really both protect your gear, but give you quick access to that gear as well. Or, it’s a great way to transport it from place to place like I did. I’d consider it a must for hikers (my camera often bumps into rocks when I have to use my hands to scramble up something).
To be honest, if you’re not bringing multiple lenses, this could replace your camera cube in your bag. Just pack this in your bag with your camera in it, then when at your destination you can pull it out and use it with a strap to carry around while walking. For you camera toting Onebaggers, removing a square cube will give you some liter-age back in your bag to Tetris up those other pouches and packing cubes.
In fact, I think for me, I’ll use that second suggestion moving forward. I generally take a small camera cube when I take my gear, but it of course takes up a bit of usable space. Since I now have the 24-105mm as my “do many things” travel lens, I can just stuff it in the Matador base layer and get a tiny bit of space back in my bag. I don’t usually need space for other lenses, unless it’s a special trip.
A specialist piece of equipment, perhaps. But then I don’t think Matador is selling it as anything but that. They kind of have the market cornered on this - I’m not too sure there’s a better one to be found (though I’m open to being informed of one, if out there). Highly recommend you checking this out if you’re a traveler or adventurer that takes their power-camera with them. I think I just invented “power-camera”. No promises on that sticking, however.
As always with the indy brands, I’d suggest buying directly through their website for best warranties and service.
Wander more and wander smarter, everyone.
Like My Content? Feel Free To Buy Me A Coffee or Make A General Donation!
Head on over to our Travel Accessory Reviews page for more reviews on Matador accessories like the FlatPak Waterproof Toiletry Case review, or the Matador NanoDry Towel Review.
Please be sure to subscribe below, and follow us on Instagram @alwayswanderofficial for photos from our wanderings, and updates for when we post new articles and reviews!


